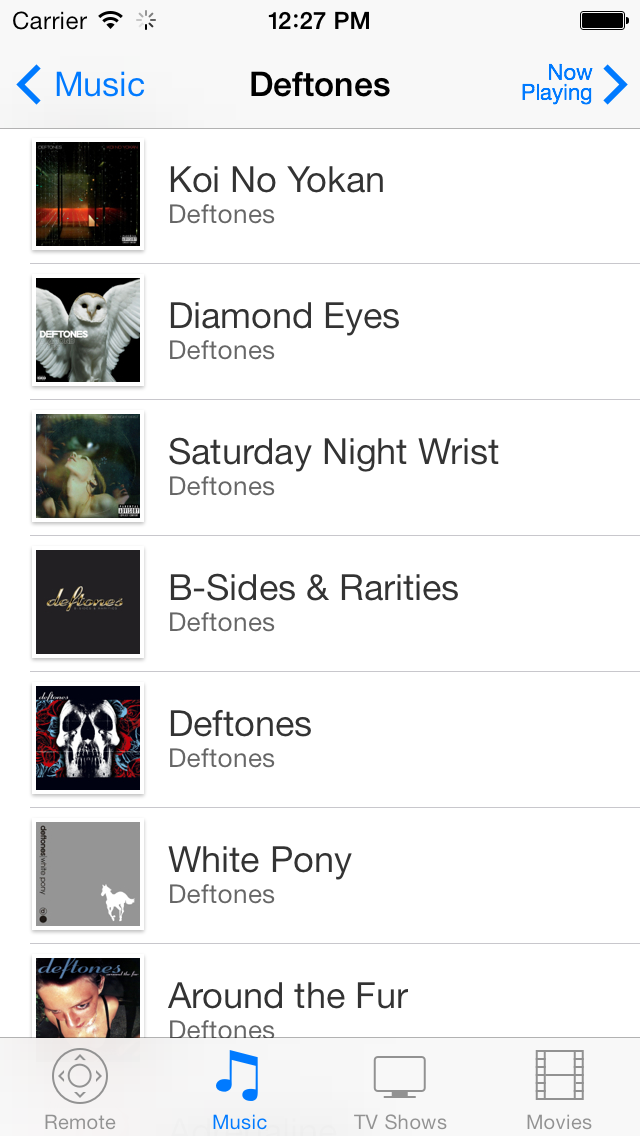
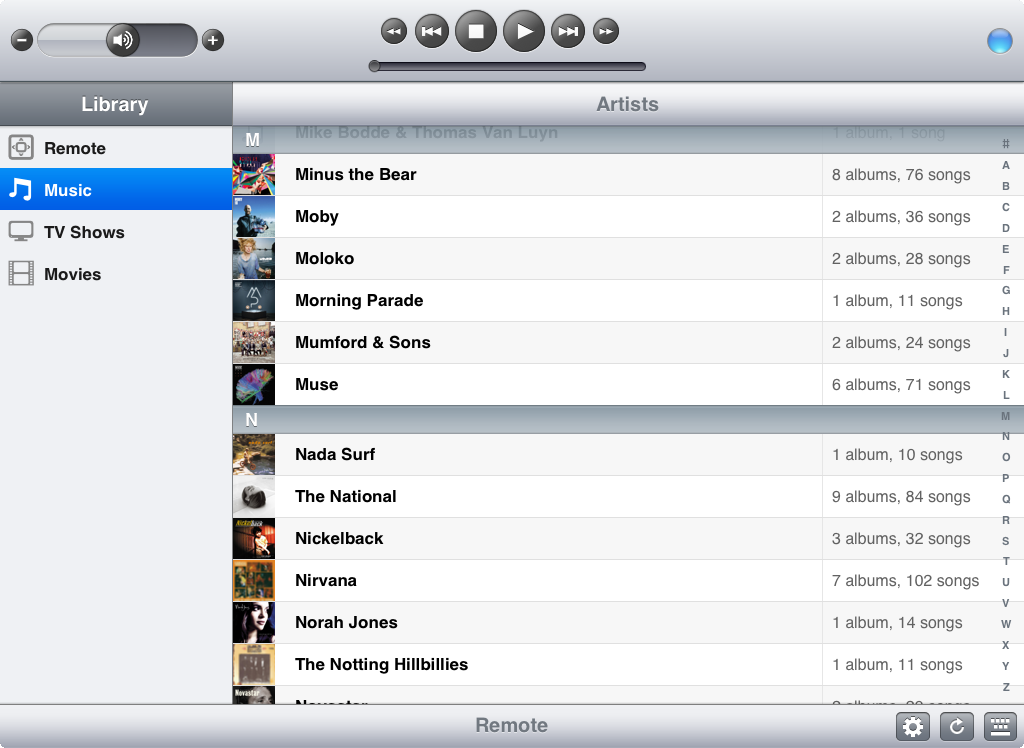
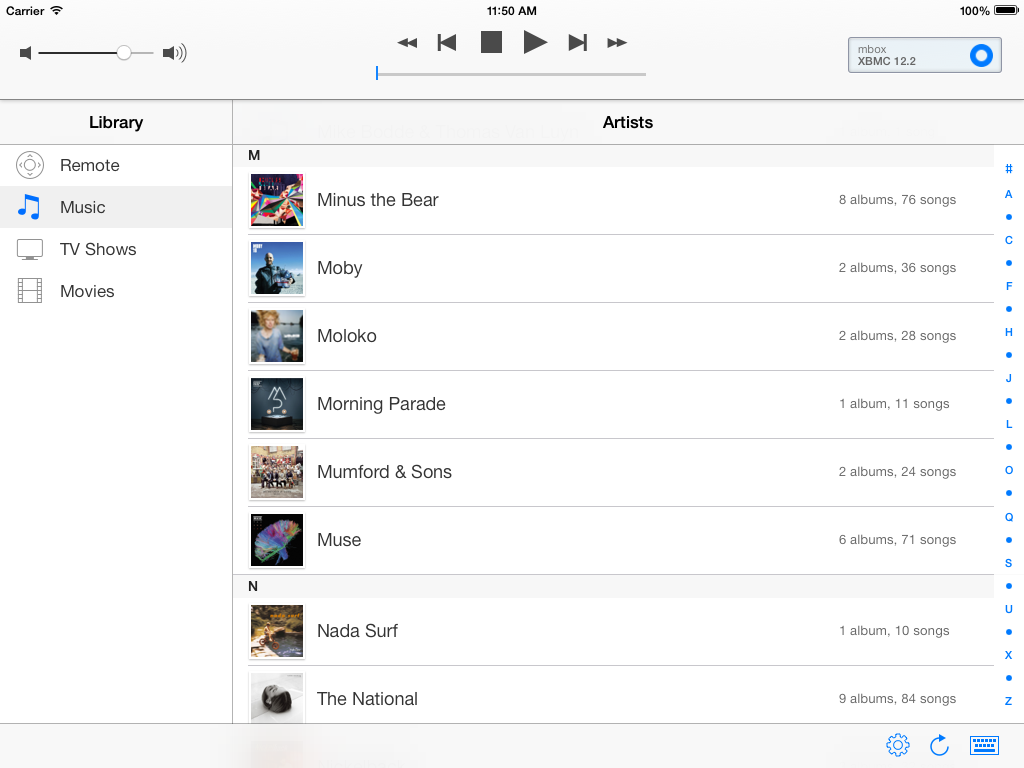
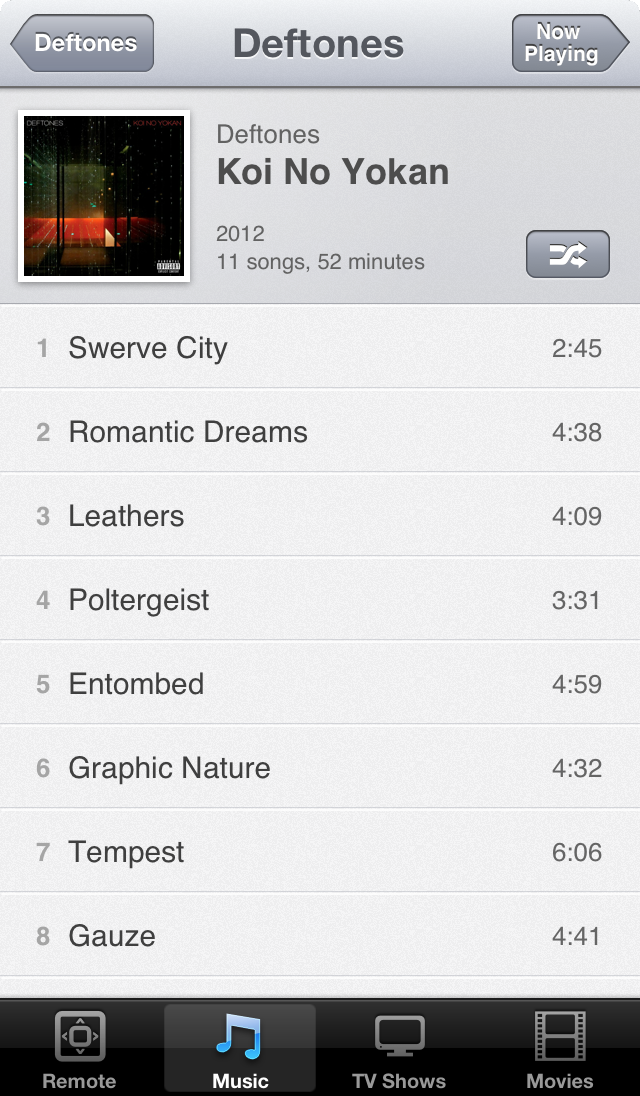
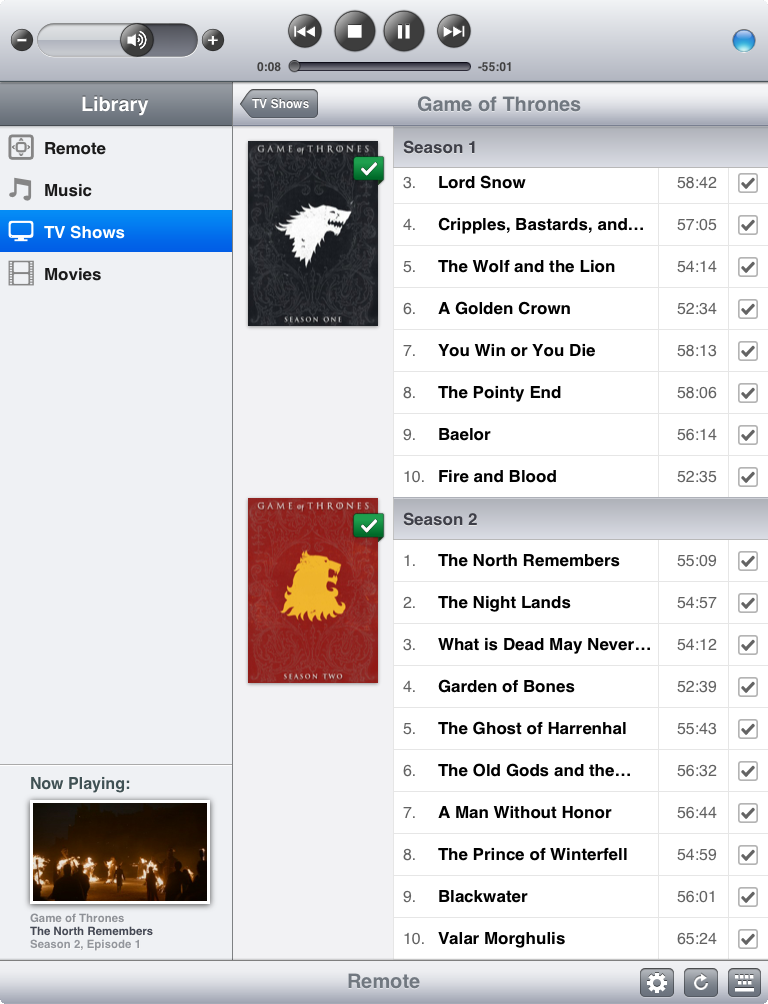
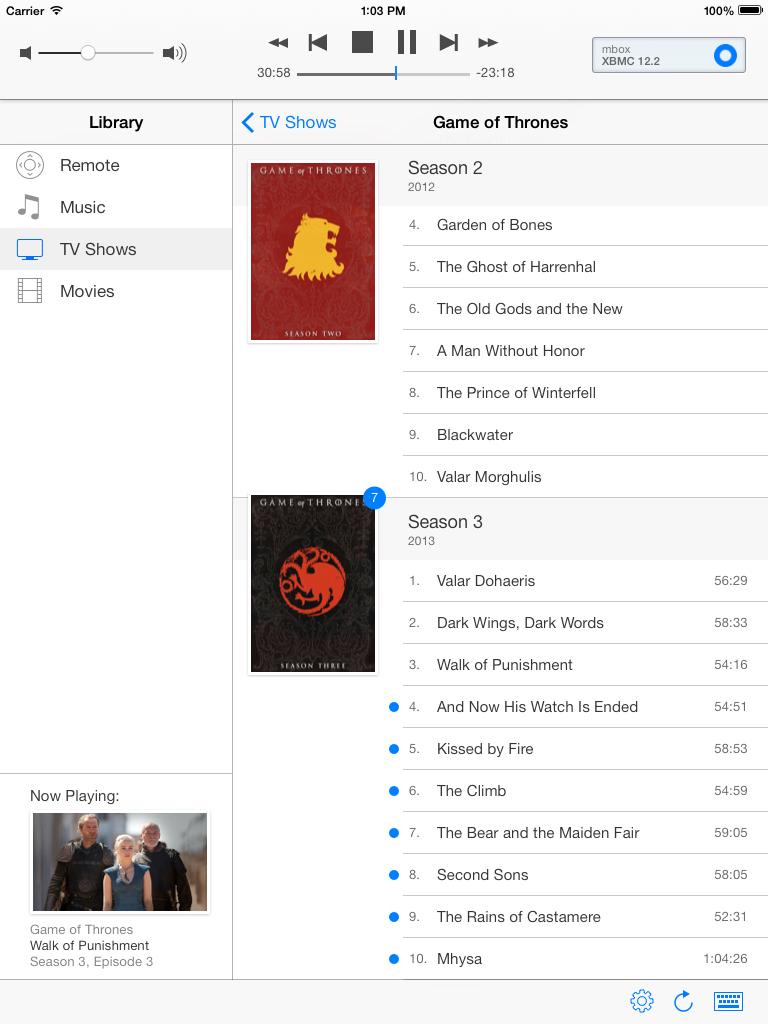
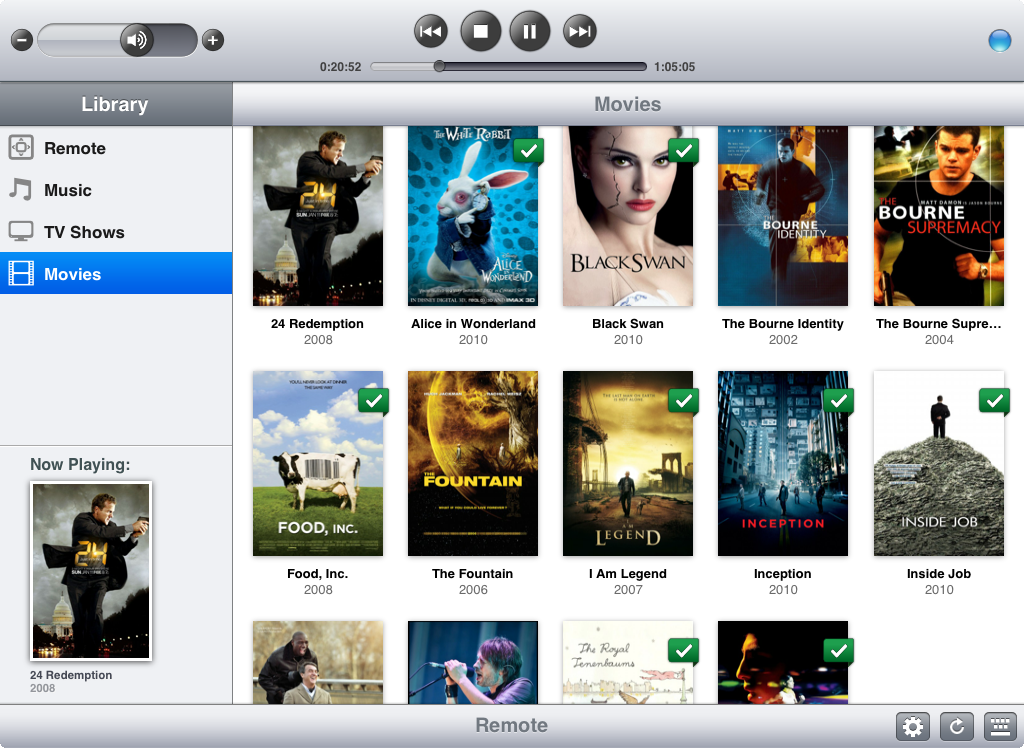
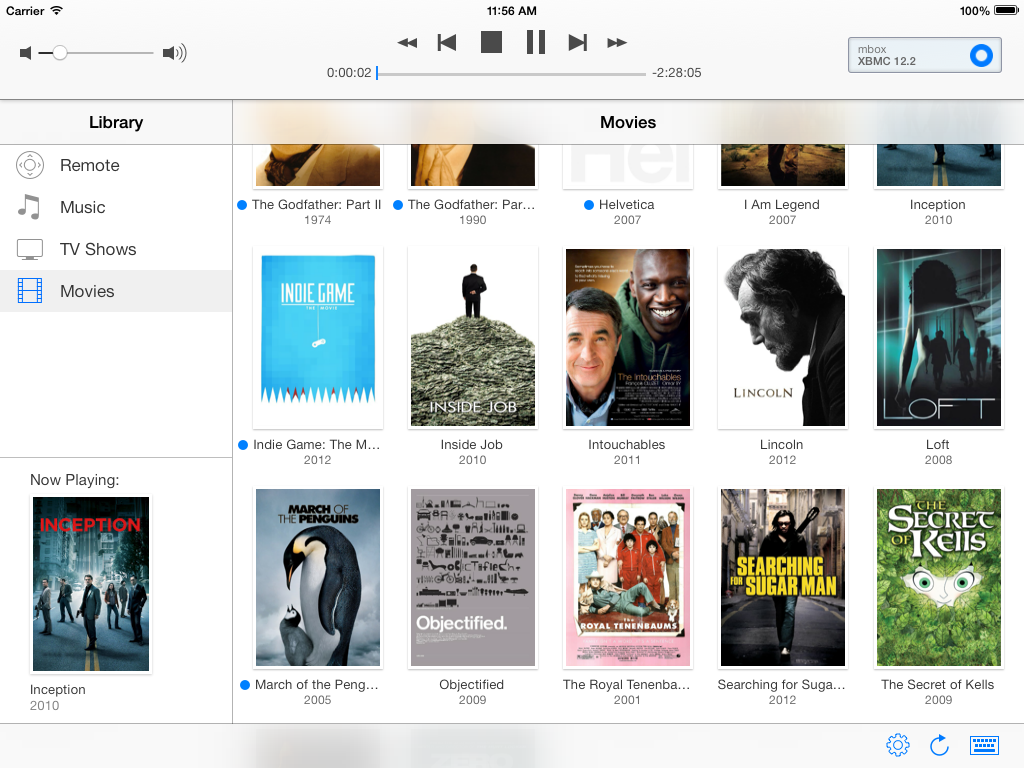
After five great years of service, mbox, my first HTPC, was starting to show signs of decay: a hard drive with bad sectors. A good time — ahem, excuse — to replace it. I wanted to go fanless five years ago, but the options were limited and expensive back then. However, with Intel’s latest Core M Broadwell series it is now possible to build a better performing, but also more power efficient media and server computer, without any fans.
Like I did for my original setup, I’ll document the process of setting up my new little box here as part of the htpc series.
Installation
Installing Ubuntu server on this machine is as simple as downloading the 64-bit install image, and “burning” it to a memory stick. I used my Mac to create the bootable memory stick as follows:
hdiutil convert -format UDRW -o target.img ubuntu-14.04.2-server-amd64.iso
sudo dd if=target.img.dmg of=/dev/rdisk$N bs=1m
Where for $N you should use the device that holds the memory stick.
After I hooked up the Zotac ZBOX to an ethernet cable and my TV (I don’t have a spare monitor laying around, except for a display that requires Thunderbolt), I plugged in the memory stick and the system booted and installed smoothly. Working on a command prompt on a TV isn’t the most comfortable, so I instructed the installer to include OpenSSH. After just a few minutes I was remotely logged in to a freshly installed, fully working Linux system. Modern times.
Configuration
At first boot, I ran a dist-upgrade to get the latest and greatest software and security patches. I adapted .bashrc to my wishes (especially $PS1), and set locales to squash certain Perl warnings:
sudo update-locale LC_ALL=en_US.UTF-8 LANG=en_US.UTF-8
sudo dpkg-reconfigure locales
I use byobu a lot for running tasks in the background, or as a screen multiplexer when I’m logged in remotely. It’s installed by default with Ubuntu, but I usually tweak a couple of things. I enabled it’s custom colored prompt:
Icconfigured the different status items, fixed monitoring the right ethernet adapter, set the network transfer units to bytes and set to monitor the right thermal device to show CPU temperature (of the first core). These settings can all be modified in ~/.byobu/status and ~/.byobu/statusrc. For the latter, these are the settings I use:
MONITORED_NETWORK=p4p1
NETWORK_UNITS=bytes
MONITORED_TEMP=/sys/class/hwmon/hwmon1/temp1_input
I use mDNS for easy reference to systems on my home network. With mDNS, machines in a network that support it can be resolved on the .local domain. It’s part of OS X and Ubuntu Desktop by default, but with Ubuntu Server the avahi-daemon package needs to be installed manually:
sudo apt-get install avahi-daemon
There we go, the new machine is now available using it’s hostname on the .local domain directly. That’s pretty much the most important configuration changes that got me where I wanted, so let’s turn this thing into a real media PC.
Kodi
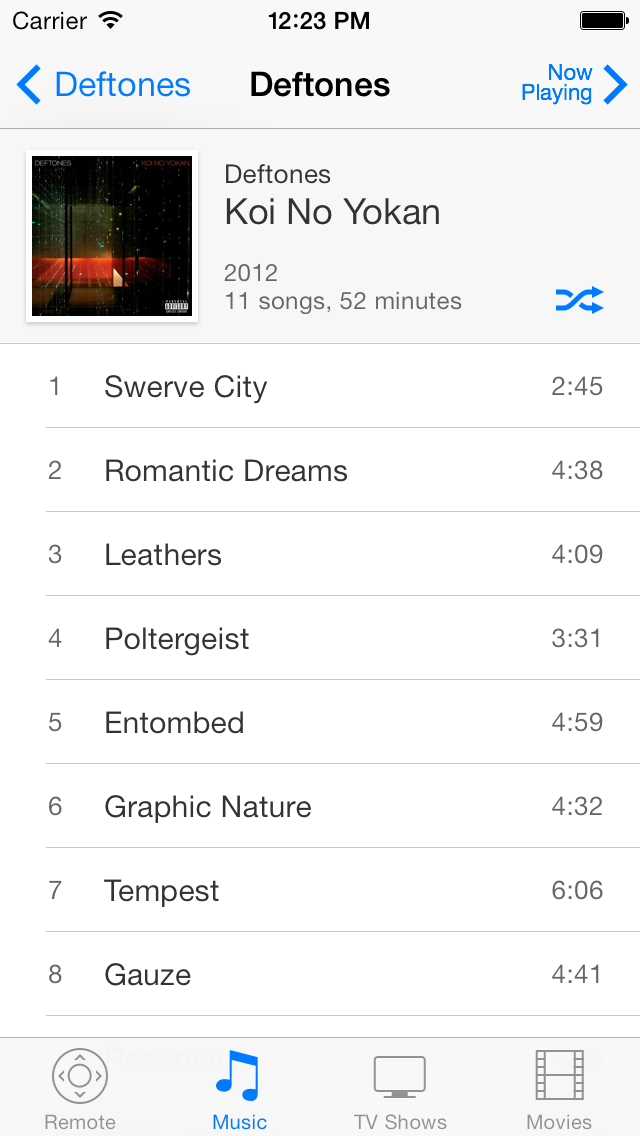
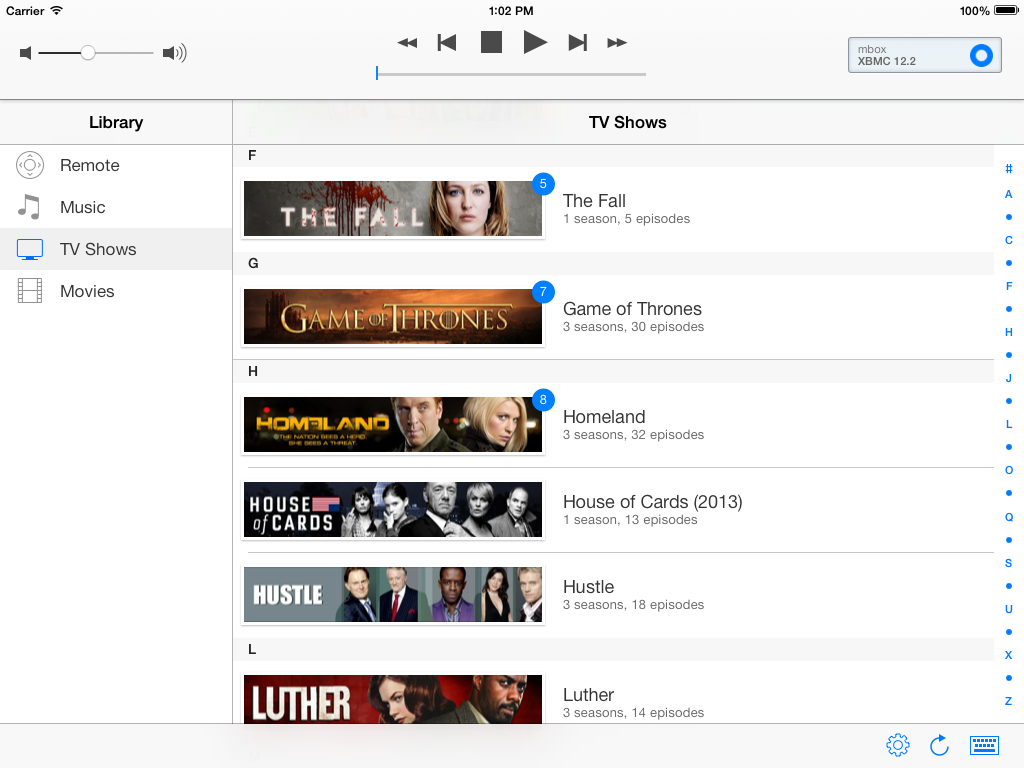
I have been using XBMC — recently renamed to Kodi — from the moment I built my first media box in 2010. In my opinion it is the best open source media software. The installation instructions for Kodi for Ubuntu based distributions are as simple as:
sudo add-apt-repository ppa:team-xbmc/ppa
sudo apt-get update
sudo apt-get install kodi
Kodi needs an X server, which for this specific Zotac ZBOX works right out of the box (no pun intended) with the Intel specific drivers:
sudo apt-get install xserver-xorg xserver-xorg-video-intel
X11 needs to be configured in such a way that anyone is allowed to launch its own X server (I am going to create a specific kodi user for automatic boot later on). This can be done as follows:
sudo dpkg-reconfigure x11-common
I use nodm to login automatically and start Kodi on boot:
sudo apt-get install nodm
In /etc/default/nodm change the following values to enable it and to use the kodi user to login with:
NODM_ENABLED=true
NODM_USER=kodi
Unfortunately there is an issue between Plymouth and nodm grabbing terminals, which is why I had to apply the workaround described in this Ubuntu launchpad issue to get it working correctly.
With nodm set up, the kodi user that will login automatically needs to be added still. I set it up without a password, just to be sure. The next step is very important, otherwise Kodi will be severely limited (no hardware acceleration, no audio, etc.). The new kodi user needs to be in the right groups to grant it access to the resources it needs:
sudo usermod -a -G cdrom,audio,video,plugdev kodi
The final step to get Kodi to boot automatically, is to create ~kodi/.xsession with the following content:
The new file needs to be executable:
There’s one thing I also set up for audio, which is alsamixer, because I still use an old stereo amplifier (which has served me well for more than 20 years already).
sudo apt-get install alsa-utils
sudo alsamixer
I mute all other channels except for the PCM audio and the set the master volume. With alsa-utils installed the mixer levels are automatically saved and restored on a reboot.
That did the trick for me, after all these steps you should have a full blown media PC.
Backups
Last but not least, since this box is also my home server, I use a very simple crontab to backup my most important assets, namely my git repositories. The backups have daily, weekly and monthly copies and are synced daily to a remote Linode VPS instance I own and manage. This is what my crontab looks like:
# Daily, weekly and monthly repository backups.
0 5 * * * rsync -a --delete $DIRECTORY_WITH_GIT_REPOSITORIES $HOME/backup/daily
30 5 * * 5 rsync -a --delete $HOME/backup/daily/ $HOME/backup/weekly
0 6 1 * * cd $HOME/backup/daily && tar cjf $HOME/backup/monthly/`date +\%Y\%m\%d`.tar.bz2 *

# Sync everything daily to my Linode VPS.
0 6 * * * rsync -a --delete $HOME/backup/*ly -e ssh $REMOTE_BACKUP_HOST:backup/
Replace $DIRECTORY_WITH_GIT_REPOSITORIES, $HOME and $REMOTE_BACKUP_HOST with whatever is applicable.
There’s one thing to configure to complete this setup, which is a simple mail server so cron can tell you when something is wrong. I have configured both Sendmail and Exim in the past, and I really don’t like to be remembered about that, so luckily there’s sSMTP:
sudo apt-get install ssmtp
Then edit /etc/ssmtp/ssmtp.conf and put in either your ISP’s SMTP host, or any other SMTP host you can send email from. The command line tool ssmtp can be used to test if it works.
Data
Besides the internal 500 GB SSD, I also bought a 5 TB Toshiba Canvio Desktop external 3.5” drive. Yep, 5 TB. Five. Terra. Bytes. For less than € 150,-. It replaces my 2 TB drive, which was chock-full, plus I wanted a USB 3.0 capable drive to connect to my new machine. So that’s going to be a whole lotta stuff to copy. More on that in a minute, first a word about partitioning.
I partitioned the drive using cgdisk with a GPT partition table (tip: I always used cfdisk so I like cgdisk a lot better than parted). I used a single partition with an ext4 filesystem covering the entire disk. However, I found ext4 reserved over 300 GB of space (for root, for system processes, and to avoid defragmentation) that is not counted towards free space. This external drive is for media only, so it’s definitely not needed to reserve space for system processes and certainly not 300 GB. As it turns out this can be tuned with tune2fs:
sudo tune2fs -m 0 /dev/sd$D$N
Use your specific device $D and partition number $N. Before running tune2fs the 4.6 TB sized drive, had 4.3 TB of free space. After running the above command, it shows 4.6 TB free. That’s better. Back to copying 2 TB of data.
The quickest way I know — and like — to copy large amounts of data from one system to another is using netcat. I normally use scp for most of my day-to-day data transfers, but for many gigabytes of data it does not make sense to encrypt everything, especially if you control the wire between the two ends. Here’s how I do it. On the one system move into the directory that you want to copy, and run the following command:
tar -cv . | nc -q 10 -l 45454
Go to the other system and fire up the following command:
nc -w 10 $REMOTE_HOST 45454 | tar -xv
Where for $REMOTE_HOST you need to use the hostname (thank you, mDNS) or IP address of the host you are copying from. Using netcat I got between 35 and 45 MB/s data transfer, from the eSATA connected 2 TB drive to the USB 3.0 connected 5 TB drive, using a Gigabit Ethernet connection.
With all the data present on the new disk, I added it to /etc/fstab to be automatically mounted. I like to put drives in /etc/fstab by UUID (to find the UUID of a partition, check /dev/disk/by-uuid/). As a result, I could re-use the external drive UUID entries from my old machine directly on the new machine’s /etc/fstab.
Silent, Cool and Low-Power
To conclude, some statistics. On the old system, the CPU temperature usually stayed close to around 76°C. Only on hot summer days or when in heavy use, the readings sometimes went above 80°C. The temperature would never go below 70°C, even on cold winter days with a room temperature of only 15°C. As for power use, the old machine used between 22 and 23 W when in use and approximately 20 W when idle. The old 2 TB external hard drive used 10 W when spinning, adding up to a total of 33 W when in full use.
The CPU temperature on the new system stays around just 54°C, the influence of room temperature seems to be pretty much gone, though I do not have readings on very cold winter days yet. The new machine is definitely much more power efficient; it uses only 9 W when idle. That includes 1 W of idle power the external drive draws when in standby mode. That’s only 8W for the PC itself, which is less than half of the idle power that the old system used. Playing music from the SSD with Kodi uses between 10 to 14 W. Watching a video from the external drive consumes between 17 and 22W.
So the new system is silent, cool and uses less than half the power when idle and about two-thirds of the power when in use. Not bad. Not bad at all.
